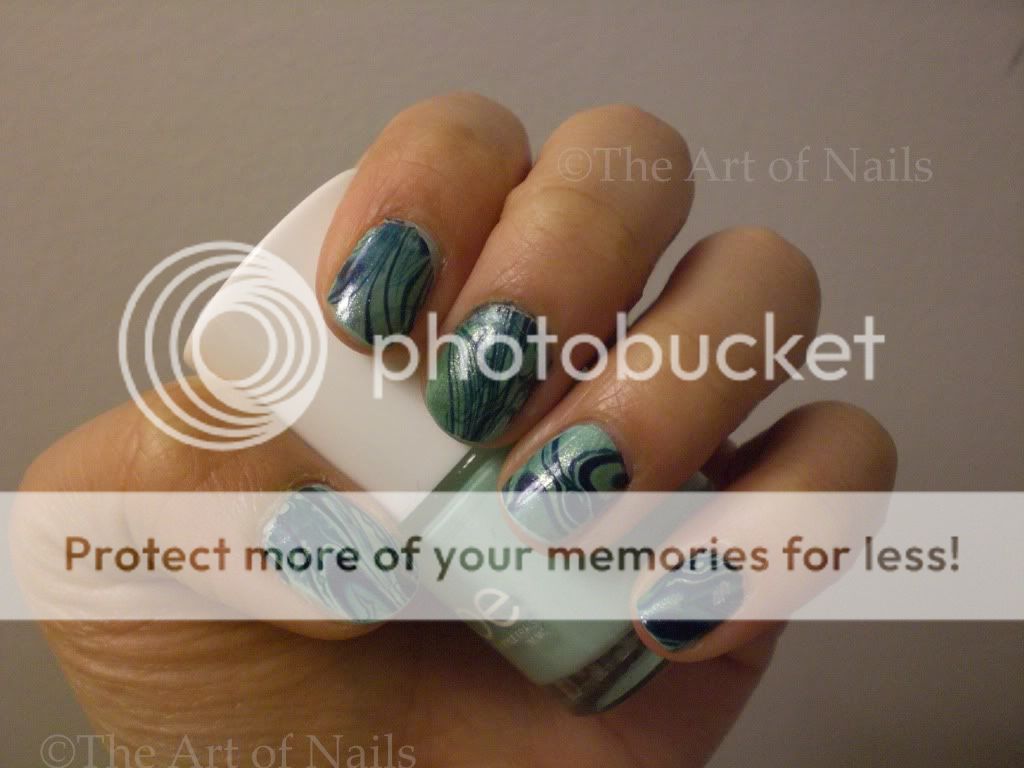

From left to right: Sephora by OPI Leaf Him at the Altar, OPI Russian Navy
Water marbling my nails was quite the experiment. It takes a few tries to get the hang of it, but after you do, it is relatively simple. However, be warned: it's time consuming. I'll post a tutorial soon on how to water marble, but for now I will give you a few tips to make your life easier:
1)Test which nail polishes will work (float and disperse) - most OPIs do
2) Use warm distilled water
3) "Cleanse" your water if you see floating pieces of nail polish after a while (To cleanse: Drop a drop of nail polish and drag it to the sides of the cup, after a few seconds, it should harden and you can use a toothpick and take the whole piece of nail polish out. Voila! Your water is clean again.)
4) Alternate the colors you want until you have around 8-10 rings for best results
5) ) For easy cleanup: tape around your cuticles with scotch tape before you dip your finger in OR cover it with cuticle oil and then wipe off after
*for this mani I taped my around my cuticles, will try with cuticle oil next time*
Water marbling is so unique as you can make each nail look different (or the same if you're really skilled!) while keeping with the same color scheme. I will definitely try this again for a more refined look next time. Until then, thanks for reading!


0 Komentar untuk "Water Marbling - Nails Art Design"